BRIGANDINE ABYSS Rally System
Absorb a monster for its trait, Dismiss the body, and do not die while it is inside you.
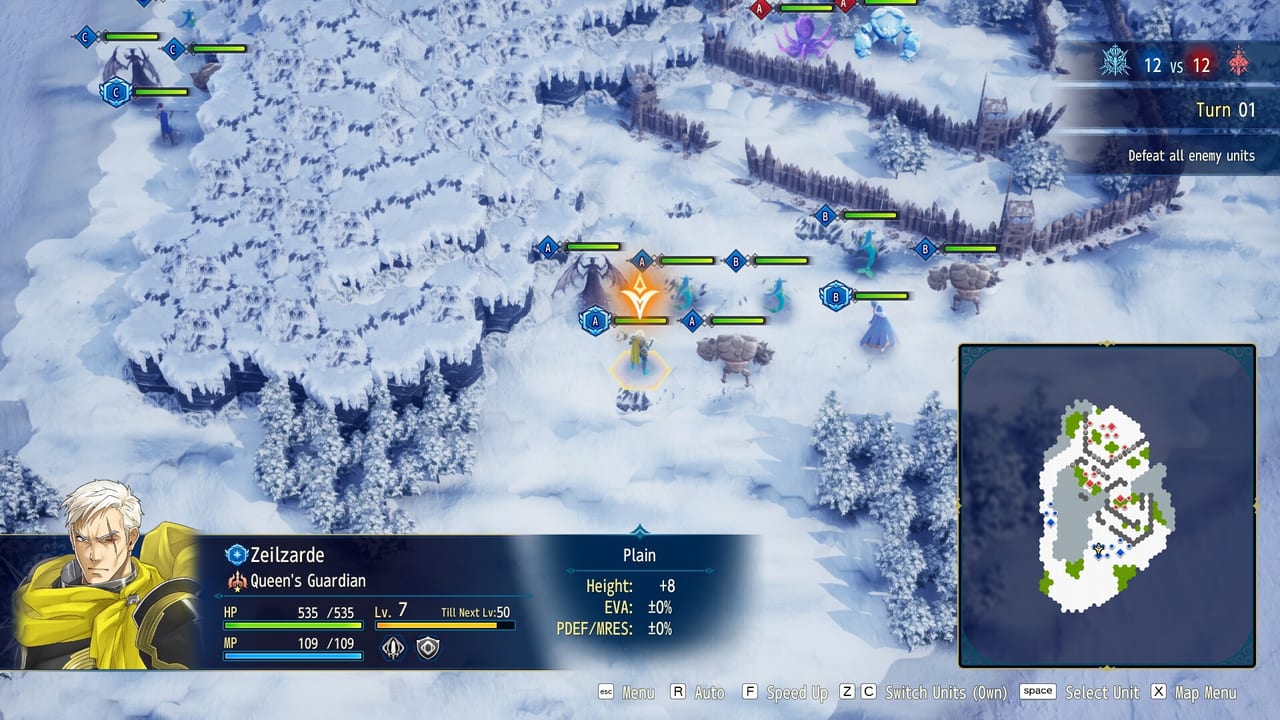
Rally is the system BRIGANDINE ABYSS added that actually changes how hex fights play. A leader Rallies a monster: the creature leaves the field and the leader inherits that monster’s passive trait and a chunk of its stats. Dismiss puts the monster back on a hex. You can swap which monster is absorbed. You cannot pretend the body is still blocking a tile while it is inside the leader. This page is the deep version: when to pull a monster off a hex, when to keep the body, how Rally batteries work, what Lizard extra action really means, and the wipe if the leader dies mid-Rally.
Read Combat Tips for leader-hunting and height. Read Monster Summoning for Command Points and who you can even attach. Class skills that fail after a move interact with Dismiss—see the Class System page for no-move spells. Campaign use (Gran Dragnica dragons, Scarlet Will mercenary cores) sits in the Campaign Walkthrough.
What Rally is, exactly
Each Invasion squad is one leader plus up to five monsters, paid in Command Points. Monsters move independently; they are not Langrisser-style statues glued to a commander’s aura. Rally is the glue you apply on purpose.
When you Rally:
- The monster is removed from the hex grid.
- The leader gains that monster’s rally trait. Preview and review coverage lists movement, elemental resistance, stronger counters, and—on Lizards—an extra action so the leader takes two turns in a row.
- Weaker monsters still have a job if their trait is good. You will recruit a creature you barely attack with because you intend to swallow it.
You Dismiss on a later turn (Outerhaven’s hands-on: after the turn you Rally, not as an instant undo the same moment if the UI blocks it). Dismiss places the monster back out. RPGamer’s review is the caster warning: Dismiss counts as movement for spell casting. A mage who Dismisses may lose the big spell that required standing still. Check the skill before you treat Dismiss as a free extra unit.
You can Dismiss in order to Rally a different monster. That is the battery loop: swallow lizard, take two actions, spit lizard, swallow a resist monster before the enemy volley.
Pull the body off the hex versus keep the body
Hexes are crowded. DualShockers’ preview called Rally the valve for melee that cannot walk through a wall of friends. Zone of Control still exists: a unit adjacent to an enemy can stop people slipping past. A monster on a hex is a door. A Rallied monster is a trait and a missing door.
Pull (Rally) when:
- The monster has no legal attack and is only occupying space your leader or another melee needs.
- You need the trait now: extra action, move range to reach a leader, a resist before magic, a counter package.
- You are hunting an enemy leader and the extra action (Lizard) is how the kill happens this phase, not next.
- The map is a parking lot of allied melee and someone has to disappear so a flier or ranged unit can take the high hex. Height still matters; fliers contest it. Rallying a grounded lizard so a flier can stand on the peak is a real line.
Keep the body when:
- That hex is the Zone of Control that keeps a thief off your leader.
- You need encirclement (surround bonuses to damage, accuracy, crit) and the monster is a surrounding pip.
- The monster is a flier already on height, or a tank soaking the first contact so the leader is not the front tile.
- Dismiss-as-move would cancel the spell you actually wanted this turn.
- The enemy has area skills and you already have too many bodies stacked—sometimes Rallying is how you un-cluster, but Dismissing three monsters into the same tile cluster is how you rebuild the AoE pile. Do not solve clutter by creating a new blob.
The default new-player mistake is Rallying everything because the trait tooltip glows. Empty hexes in front of a leader are how the AI’s remaining units walk onto your commander. The default veteran mistake is never Rallying, then watching a lizard sit three tiles behind a Zone of Control wall for the whole map.
Rally batteries
A battery is a monster you brought for the trait, not for its personal DPS. Lizards are the famous battery: Rally grants the leader two consecutive turns. RPG Site called that one of the strongest traits and said Rally can look broken depending on the stack. That is not a rumor. Build around it.
Practical battery rules:
- Keep a lizard in the retinue even if its weapon is embarrassing. Command Points still apply; a cheap lizard that you Rally is better CP than a fancy melee that never acts because the tile is blocked.
- Do not put your only lizard on a quest during Organization. Quests and Training will steal the battery the season you needed two actions on an Event Battle.
- Bring a second trait monster (move, resist) if CP allows. Swap with Dismiss. You only absorb one at a time.
- Gran Dragnica players: dragon-adjacent skills still want dragon bodies in range. Do not Rally every dragon just because Rally is new. Swallow the lizard; leave the dragon on the hex if the skill check needs it.
- Scarlet Will players: mercenary batteries can die forever if you Dismiss them into a stupid hex and they get focused. Story leaders should hold the dangerous Rally-Dismiss cycles.
Batteries make Organization loadouts matter. If your third squad has no Rally plan, it is a pile of stats walking a large empty map—the fight style reviewers got bored of.
If the leader dies while a monster is Rallied
Two wipe rules stack.
- If a leader is defeated, the entire squad leaves the map. That is the series rule and the reason you hunt enemy leaders.
- Rally specifically risks the absorbed monster. RPGamer: you gain the trait at the risk of losing that monster if the commander loses all health. The body is not standing on a hex you can retreat. It is in the leader. If the leader drops, you do not get a clean Dismiss. You lose the creature.
Do not Rally your unique flier, your only dragon, or a high-CP promoted monster into a leader who is tanking the front. Rally the battery. Leave the irreplaceable body on a side hex, or do not absorb it until the enemy leader is already dead and the remaining fire is light.
Protect the leader the same way you always should: meat in front, Zone of Control, do not walk the commander into a surround for one greedy extra action. Lizard double-turn is how you finish a hunt. It is also how you overextend two hexes too far and donate the squad.
Enemy AI is bad at this discipline. You should not be. Focus their leaders; hide yours.
Command Points still gate the trick
You cannot Rally a monster that is not in the squad. Five monsters is the cap if CP allows. Promotions raise CP cost, so the cute five-stack may become a four-stack plus a battery you refuse to cut. Early leaders Rally one of two goblins. Late leaders Rally with a plan. Getting Started is the cap reminder: three squads in the fight, not three Rally experiments in a vacuum.
Practice map
On any large empty Invasion, pick one squad and force a cycle: keep bodies for the first contact, Rally lizard when the enemy leader is in kill range, two-action the hunt, Dismiss only if you need a Zone of Control wall for the counter-turn, never Dismiss into an AoE hug. If that cycle feels better than walking thirty hexes, you understand why launch reviews called Rally the big new idea even when they disliked Story Mode’s repetition.
For a critic-level sense of how central this is to the buy decision, read the Review. For launch-week patch reality (no invented Rally nerf in September), read Updates.
Frequently Asked Questions
Quick answers to common questions about BRIGANDINE ABYSS.
What does Rally do?
The leader absorbs one monster, removing it from the hex map, and gains that monster's passive trait and related stats. Dismiss returns the monster to a hex. You can swap which monster is absorbed over the course of a fight.
Why do people Rally Lizards?
Lizard Rally is widely treated as one of the strongest traits: the leader gets an extra action and can take two turns in a row. Keep a lizard as a battery even if its own attacks are mediocre.
Do I lose the Rallied monster if my leader dies?
Yes. The squad flees when the leader falls, and the absorbed monster is not on a hex you can retreat. Do not Rally irreplaceable creatures into a leader standing on the front line.
Should I always Rally so the leader is stronger?
No. A body on a hex is Zone of Control, encirclement, and a door. Rally when you need the trait or the tile. Keep the body when it is the only thing stopping a thief from walking onto the commander.